Hexo+Github+Vercel搭建个人博客网站实录
本文记录利用GitHub Pages搭建Hexo静态博客记录,主要面向弱CODE基础同学
环境配置
Git 官网下载安装”https://git-scm.com/“
node.js 官网下载安装“https://nodejs.org/”
npm 默认集成在node.js,正常无需再次安装
可在git bash中检查是否安装成功(如下无明确说明皆是git bash中操作)
1 | git version |
安装Hexo
npm安装Hexo
1 | npm install -g hexo-cli |
初始化项目
eg. 博客命名 Blog
1 | hexo init Blog |
Tips:也可以新建文件夹Blog,在Blog文件夹内右键打开git bash 使用命令 npm install
生成Hexo静态文件
运行 hexo g 或者 hexo generate 命令
1 | hexo g |
本地预览Hexo静态文件
运行 hexo s 或 hexo server 命令
1 | hexo s |
生成本地预览网站链接 http://localhost:4000
提交Github Pages
新建github仓库
你的Github用户名.github.io
Tips:若导入vercel容器,可以自由命名
生成ssh密钥
git bash中输入以下命令
1 | git config --global user.name "你的GitHub用户名" |
生成公钥命令
1 | ssh-keygen -t rsa -C "你注册github的邮箱" |
Github个人主页点击头像
Setting-SSH and GPG keys-New SSH Key-粘贴公钥
验证命令
1 | ssh -T git@github.com |
修改Blog文件夹下_config.yml_ 文件内容,替换对应代码
1 | deploy: |
安装推送命令
1 | npm install hexo-deployer-git --save |
清理缓存,生成静态文件,推送到GitHub命令,hexo三连
1 | hexo clean |
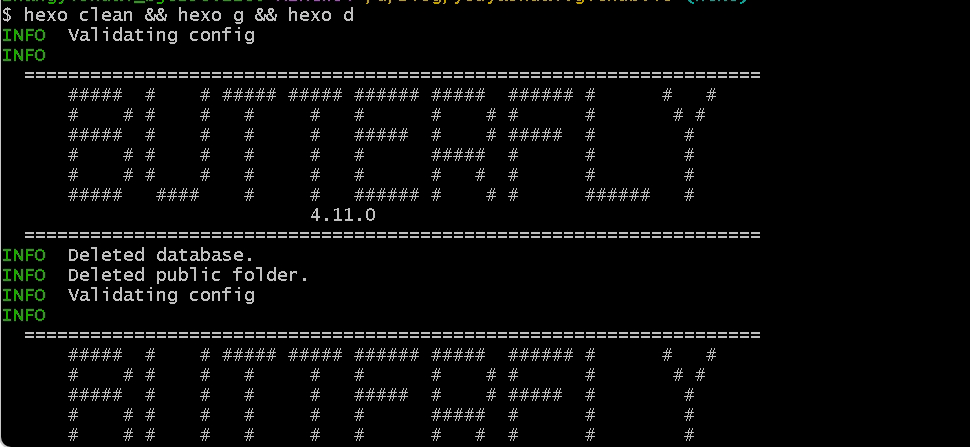
Tips:也可以hexo clean && hexo g && hexo d
博客地址:
你的GitHub用户名.github.io
安装主题
eg.安装Butterfly主题为例 参考文档:https://butterfly.js.org/
1 | git clone -b master https://github.com/jerryc127/hexo-theme-butterfly.git themes/butterfly |
Tips:命令中 -b master 指克隆指定master分支代码
安装渲染器
1 | npm install hexo-renderer-pug hexo-renderer-stylus --save |
修改Blog文件夹下修改 config.yml 主题名称
theme: butterfly
再次Hexo三连
hexo clean && hexo g && hexo d
####部署vercel后期再水一篇


